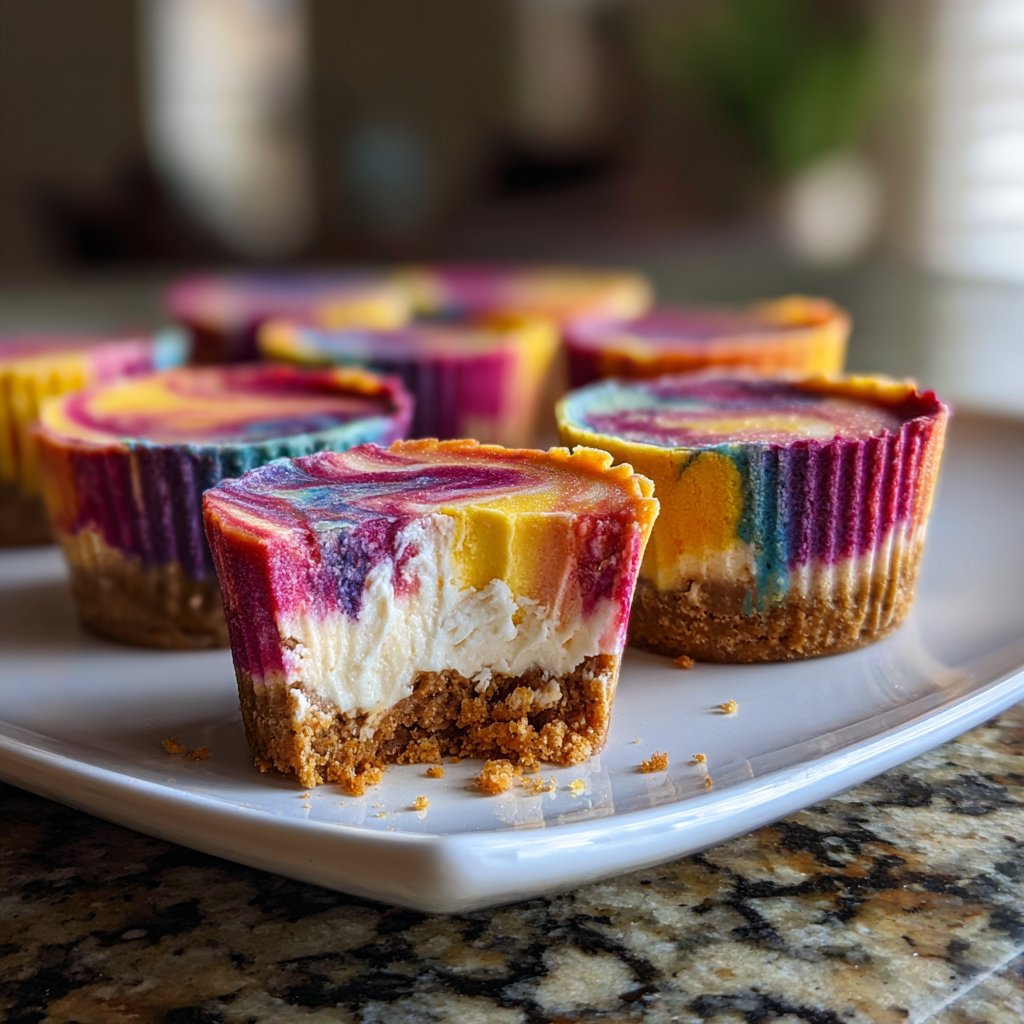
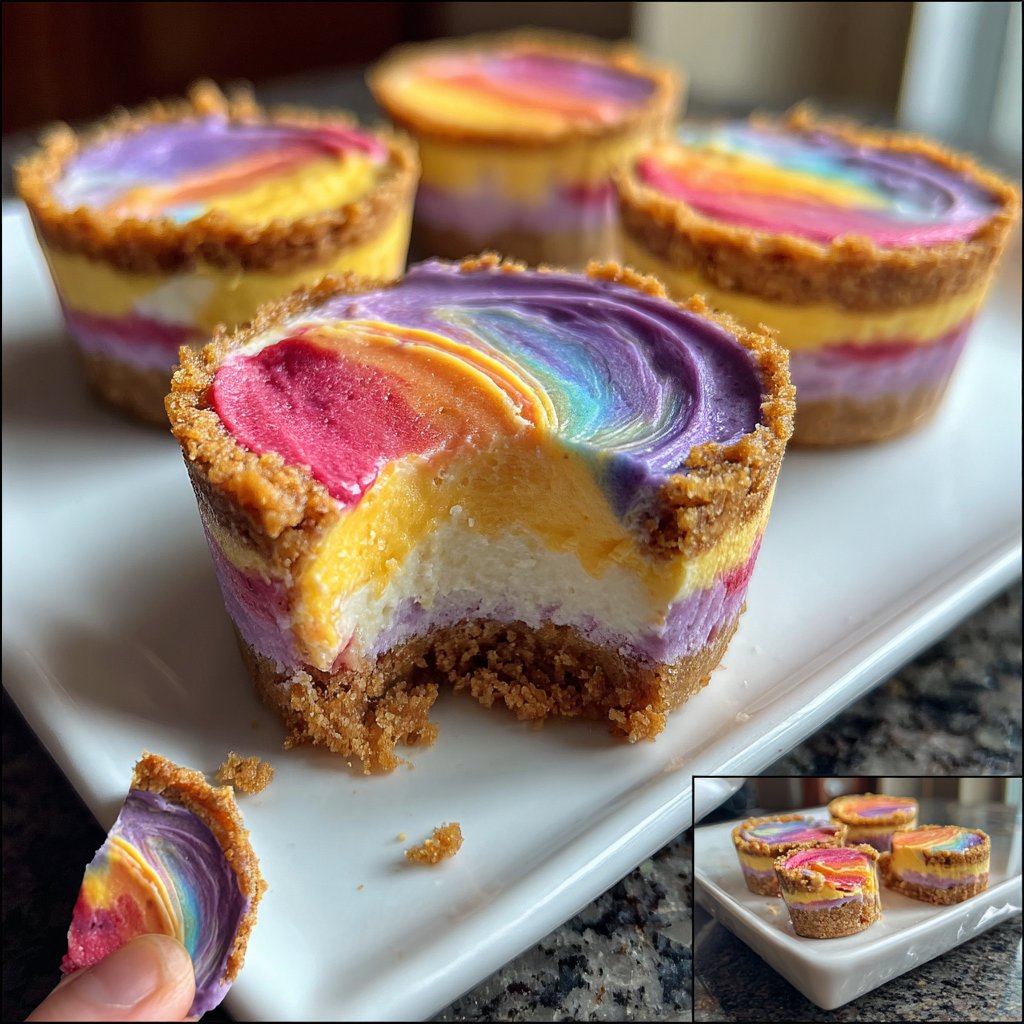
No-Bake Rainbow Cheesecake Cups
Highlighted under: Homemade Desserts | Cakes & Cookies
I absolutely love making No-Bake Rainbow Cheesecake Cups for any occasion! The vibrant colors and delightful flavors never fail to brighten up a gathering. Each layer of creamy cheesecake is easy to make, and the no-bake aspect means that I can whip these up without worrying about baking times. Plus, kids love them! They’re a fun treat that can be customized with any colors or flavors you like, making them perfect for birthdays or summer parties. I think you’ll love how simple and delicious they are too!
Creating these No-Bake Rainbow Cheesecake Cups was a delightful experience! I wanted to spotlight the playful side of desserts, and these cups do just that. The different layers not only look gorgeous in the cups, but they also provide a burst of flavor in every bite. I experimented with using flavored gelatin to enhance the colors, which surprisingly turned out to be a great addition!
What I loved even more is that they set beautifully in the refrigerator. I typically let them chill for at least two hours, but you can even make them the night before for less stress on the day of your event. The only trick is to layer the mixtures gently to achieve that rainbow effect. Give it a try, and you will see how rewarding it is!
Why You'll Love These Cheesecake Cups
- Vibrant colors that are sure to impress everyone
- Creamy, velvety texture with no baking required
- Fun and customizable for any occasion or flavor preference
Perfecting Your Cheesecake Layers
When making the cheesecake filling, ensure your cream cheese is at room temperature for easier blending. This will help achieve that smooth, creamy texture without lumps. I recommend using an electric mixer to whip the cream cheese and powdered sugar together until fully combined, which typically takes about 2-3 minutes. If you notice any lumps, you can always pass the mixture through a fine mesh strainer for a silky finish.
Incorporating heavy cream requires a bit of technique. Whipping the heavy cream until stiff peaks form is crucial for a light cheesecake texture. Be careful not to overwhip, as it can become grainy. To ensure perfect peaks, chill your mixing bowl and beaters in the refrigerator beforehand. Once you achieve those peaks, gently fold the whipped cream into the cream cheese mixture to maintain the airy quality.
Customizing Your Rainbow Layers
The fun part about these cheesecake cups is the customization! Feel free to experiment with different flavored gelatins; fruity options like strawberry, orange, or blue raspberry work wonderfully. For an added flavor boost, consider pairing the gelatin flavor with an appropriate food coloring. For instance, combining lemon gelatin with yellow food coloring creates a refreshing lemon cheesecake layer that’s bright and lively.
If you're aiming for a lower-sugar or healthier option, you can substitute the flavored gelatin with pureed fruits or natural flavor extracts. Ensure that the mixture is well-balanced; for example, adding a tablespoon of citrus juice to your fruit puree can balance the sweetness and enhance flavor. This way, your cheesecake layers not only look beautiful but offer a fresh taste profile as well.
Ingredients
Ingredients
Cheesecake Layers
- 8 oz cream cheese, softened
- 1/2 cup powdered sugar
- 1 cup heavy whipping cream
- 1 tsp vanilla extract
- 1 packet flavored gelatin (different flavors for each layer)
- Food coloring (optional)
Crust
- 1 cup graham cracker crumbs
- 1/4 cup unsalted butter, melted
- 2 tbsp sugar
Instructions
Instructions
Directions
Prepare the Crust
In a medium bowl, mix together graham cracker crumbs, melted butter, and sugar. Press the mixture into the bottom of each cup. Set aside.
Make the Cheesecake Filling
In a large bowl, beat the softened cream cheese and powdered sugar until smooth. In a separate bowl, whip the heavy cream and vanilla extract until stiff peaks form. Carefully fold the whipped cream into the cream cheese mixture.
Layer the Cheesecake
Divide the filling into equal portions for as many colors as you have. Add the corresponding flavored gelatin and food coloring to each portion and mix well. Layer them in the cups over the prepared crust, starting with the first color and repeating until the cups are filled.
Chill and Serve
Cover the cups with plastic wrap and refrigerate for at least 2 hours. Once set, garnish with fresh fruits or whipped cream if desired, then serve chilled.
Enjoy your treats!
Pro Tips
- For an extra touch, you can add a drizzle of chocolate sauce or sprinkle crushed nuts on top before serving.
Storing and Making Ahead
These No-Bake Rainbow Cheesecake Cups are perfect for prepping in advance! Once assembled, they can be stored, covered, in the refrigerator for up to 3 days. This makes them an excellent choice for parties or gatherings, allowing you to focus on other dishes without last-minute dessert stress. Just be sure to leave the garnishes, like fruits or whipped cream, off until right before serving to maintain their freshness.
If you’re thinking of freezing these cups, be mindful of the texture. While the crust freezes well, the cheesecake layers may lose some of their creamy quality. If freezing is necessary, freeze them for up to 2 months, but allow them to thaw overnight in the refrigerator to regain their original texture before serving.
Troubleshooting Common Issues
If your cheesecake layers appear to be overly runny, this could be due to insufficient whipping of the heavy cream or an imbalance between ingredients. Ensure your cream cheese and heavy cream mixtures are properly whipped and maintain that structural integrity before folding. Adjusting the amount of gelatin can also help. Generally, one packet of gelatin is sufficient to stabilize the filling for every three cups of mixture you use.
Another common issue is uneven layering. To keep your layers distinct and beautiful, allow each layer to set slightly before adding the next. This usually takes about 10-15 minutes in the fridge. If you pour all the layers at once, they may merge, losing the charming rainbow effect. A steady hand and patience are key to creating those vibrant, show-stopping layers!
Questions About Recipes
→ Can I use different flavors of gelatin?
Absolutely! You can choose any flavors you like to create vibrant and unique layers.
→ How long do these cheesecake cups last in the fridge?
They can last up to 3-4 days if stored properly in the refrigerator.
→ Can I make these in advance?
Yes! You can prepare them the night before and simply chill them until serving time.
→ What can I use instead of gelatin?
You could experiment with flavored puddings instead of gelatin for a different texture and flavor.
No-Bake Rainbow Cheesecake Cups
Created by: The Chefkylecooks Team
Recipe Type: Homemade Desserts | Cakes & Cookies
Skill Level: Beginner
Final Quantity: 4 cups
What You'll Need
Cheesecake Layers
- 8 oz cream cheese, softened
- 1/2 cup powdered sugar
- 1 cup heavy whipping cream
- 1 tsp vanilla extract
- 1 packet flavored gelatin (different flavors for each layer)
- Food coloring (optional)
Crust
- 1 cup graham cracker crumbs
- 1/4 cup unsalted butter, melted
- 2 tbsp sugar
How-To Steps
In a medium bowl, mix together graham cracker crumbs, melted butter, and sugar. Press the mixture into the bottom of each cup. Set aside.
In a large bowl, beat the softened cream cheese and powdered sugar until smooth. In a separate bowl, whip the heavy cream and vanilla extract until stiff peaks form. Carefully fold the whipped cream into the cream cheese mixture.
Divide the filling into equal portions for as many colors as you have. Add the corresponding flavored gelatin and food coloring to each portion and mix well. Layer them in the cups over the prepared crust, starting with the first color and repeating until the cups are filled.
Cover the cups with plastic wrap and refrigerate for at least 2 hours. Once set, garnish with fresh fruits or whipped cream if desired, then serve chilled.
Extra Tips
- For an extra touch, you can add a drizzle of chocolate sauce or sprinkle crushed nuts on top before serving.
Nutritional Breakdown (Per Serving)
- Calories: 320 kcal
- Total Fat: 22g
- Saturated Fat: 13g
- Cholesterol: 55mg
- Sodium: 120mg
- Total Carbohydrates: 30g
- Dietary Fiber: 0g
- Sugars: 20g
- Protein: 4g